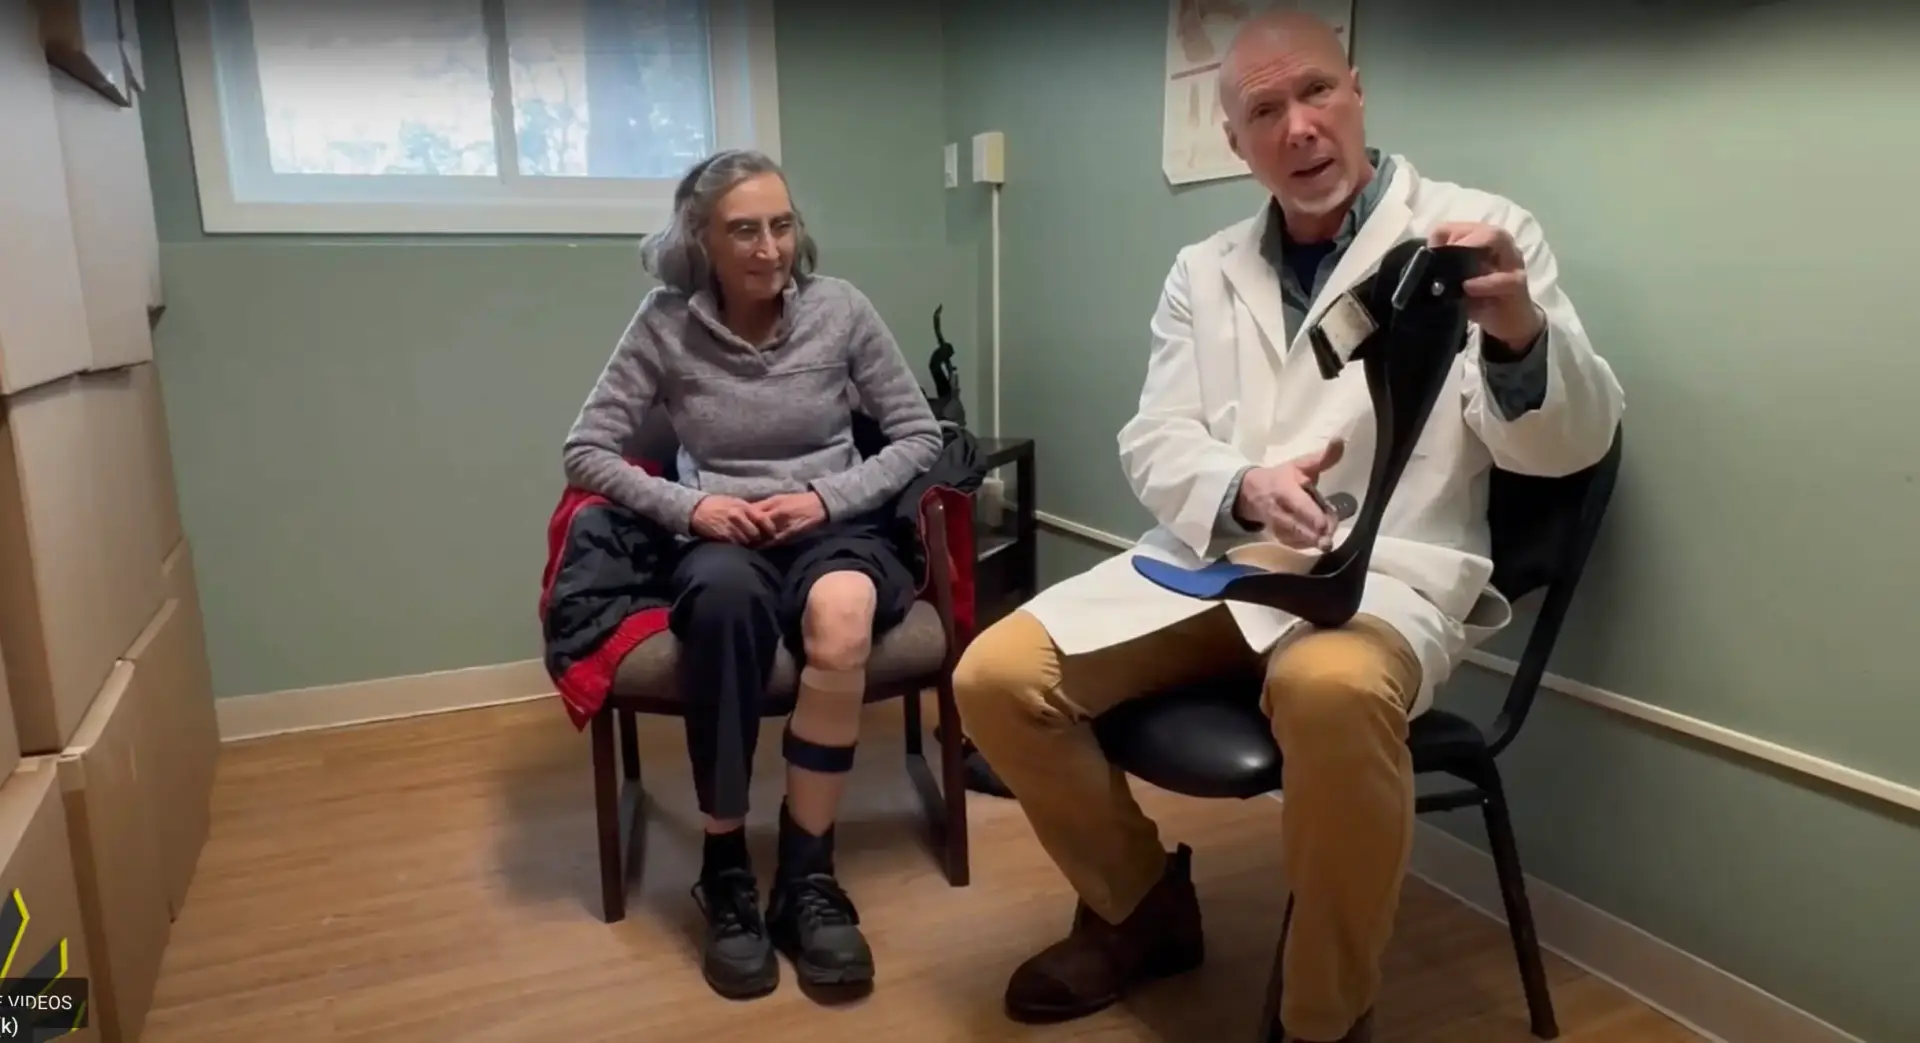
(207) 885-0414 | faq@insightfulproducts.com
The Insightful Products logo with the tagline, "We Help People Walk"

Replacing tensors on the Step-Smart Brace

In this video, Ian Engleman demonstrates how our drop foot technology can provide better treatment by providing more accurate traction on the calf. If the portion of the AFO (called the calf section) is moving either medially or laterally off the leg, the drop foot AFO brace can be adjusted using a longer tensor that comes free of charge.

By simply installing the longer tensor on the side of the brace that is opposite the direction the brace needs to be tilted, you can shift the portion of the AFO in the direction needed. For example, if a left foot AFO is coming off medially (or coming off towards the middle), then swap the long tensor on the medial side to shift it towards the lateral side. If the left foot brace is coming off the calf laterally (or towards the outside of the leg), then install the longer tensor on the lateral side to push the calf section medially. The opposite is true for a right-foot AFO.


Video Transcript:
Ian here from Insightful Products. Welcome back to Foot of the Week! On week 12 we talked about the calf section and how sometimes you have to make an angular adjustment. And in that week we talked about the reasons for the need to make that adjustment but we really didn’t talk about how to change out the longer tensor. We’re going to replace the shorter tensor with the longer one because this patient here has a problem where the calf section is dislocating medially or on the inside of his leg. So by putting a longer tensor on the inside we kick that calf section over a little bit to the lateral and realign that calf section to solve that problem. 

What we’ll need is some Loctite, (we use purple but blue is acceptable) some super glue (any brand name will do), the longer tensor, a two-millimeter Allen, and a two-and-a-half-millimeter Allen wrench. As you can see this is longer but not by a lot but enough to give us just the angular change we need. First, get this I-strap out of the way. Now, this is glued in place but it can be peeled up relatively easily. Okay so you can see that under this pad we have the two tensors, the shorter tensors, and then we have these back nuts and then on this side, we have the screws. So we need to take this two-and-a-half millimeter wrench and secure that back nut because if we don’t there’s a chance when we unscrew this it’ll spin uncontrollably and you won’t get it apart. 

Alright. So now we’ve got to pop out that shorter tensor and the shorter tensor has the two end pieces. These are little kind of bolt-like things. And this is the shorter one so we’re going to replace it with the longer one. Two shorter ones are automatically installed with the Step-Smart brace. The longer one comes in your bumper kit. And the screw just needs a little bit of Loctite, hardly any at all. If I don’t secure this back nut that’ll just spin. I won’t be able to get it tight. It doesn’t have to be super tight. Now we’re left with this problem here. So we just want to stick that back down. I went to the hardware store and got this super glue. You don’t want to put super glue all over the place. You don’t need much. I wouldn’t put it anywhere in around these screws so just press that down. Give it a little bit of pressure. So it looks like we’ve finished the job. I’ve got the I-strap there. We could reinstall our bumpers. There you have it. That’s it for Foot of the Week. We’ll see you next week. 

Related Posts